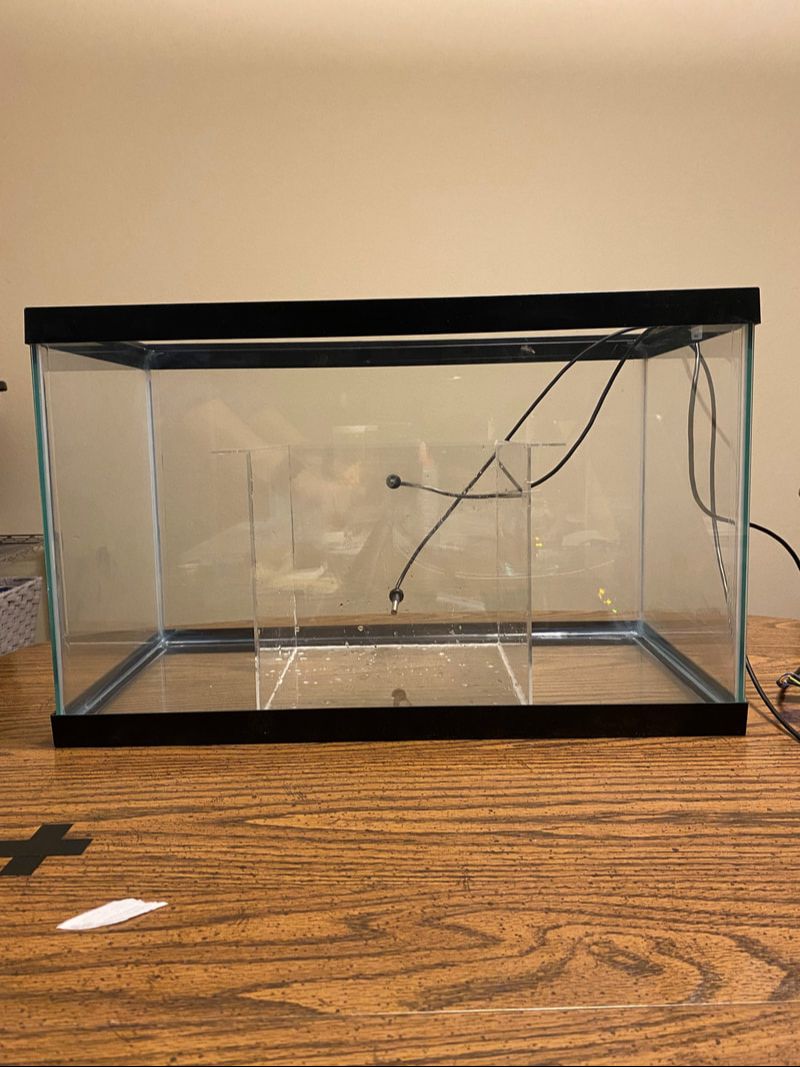
Enclosure Design
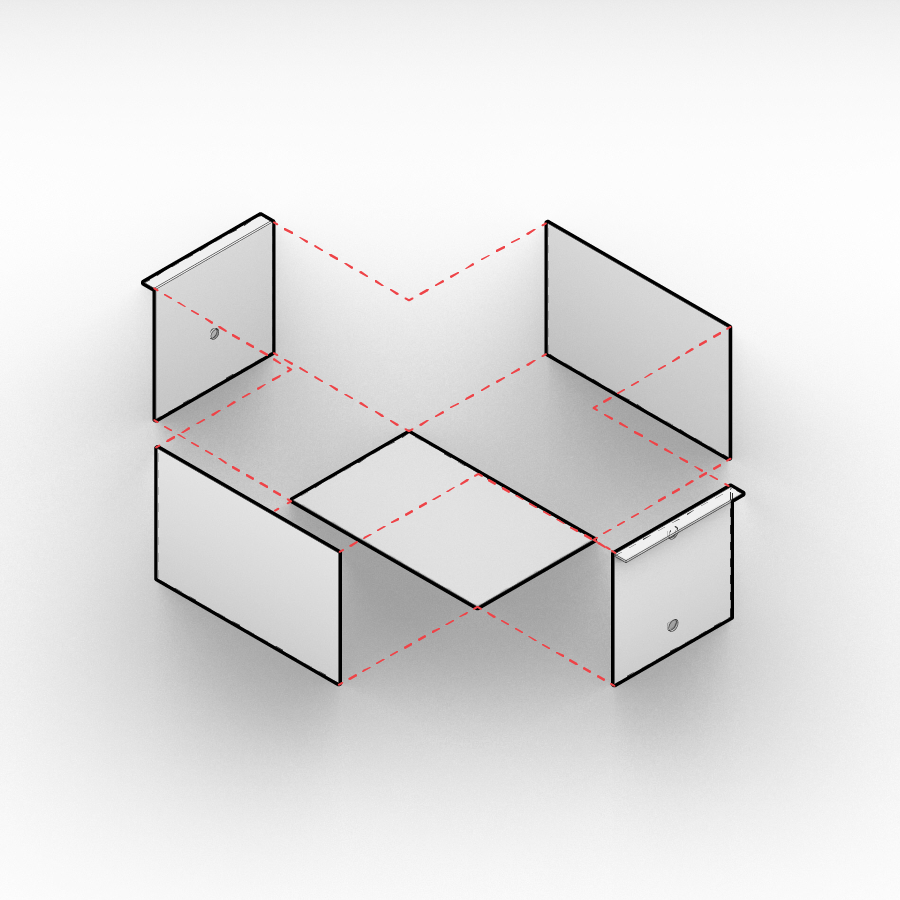
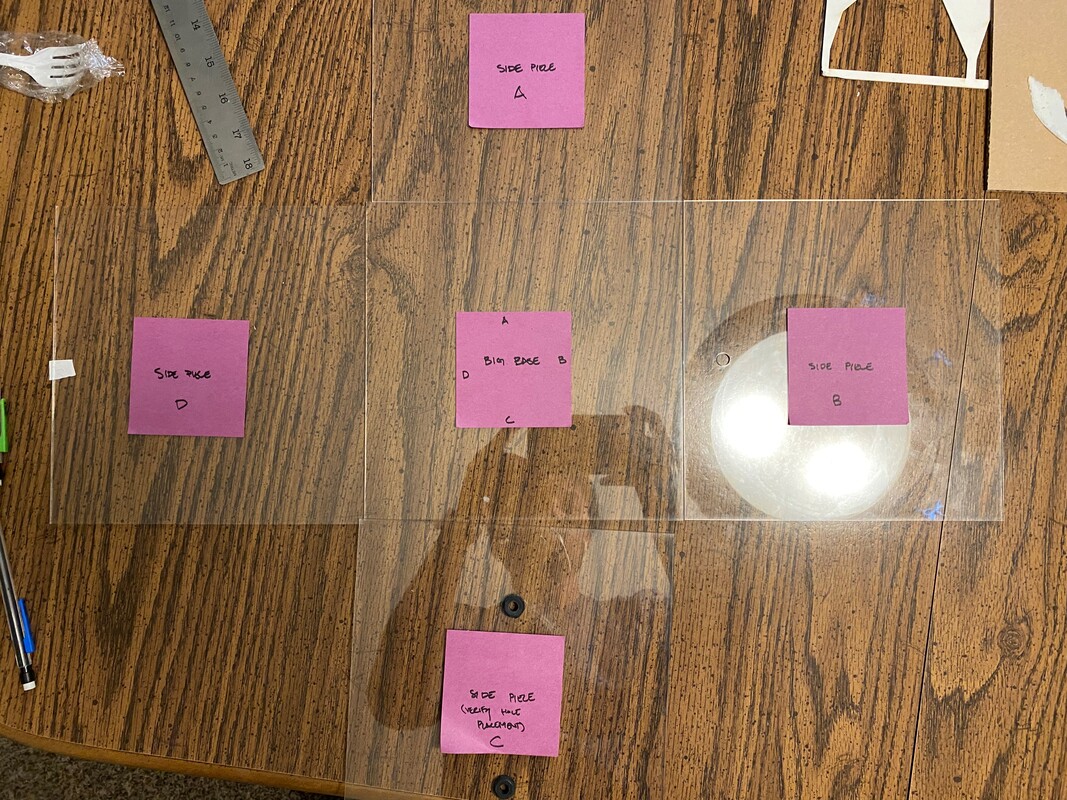
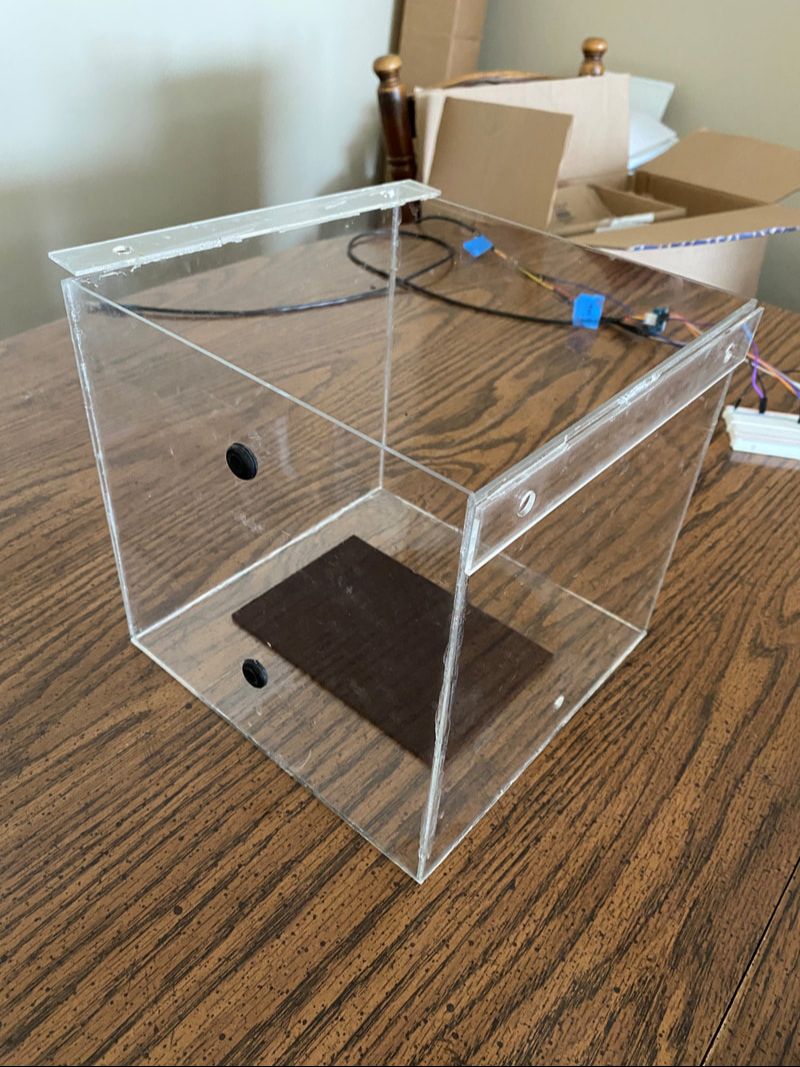
The basic enclosure is a 8" x 5" x 5" acrylic box held together using JB Weld. The resultant box is water tight, and is capable of creating a controlled environment. Additionally, three holes were placed in the sides of the acrylic box: the two vertically aligned holes are for the temperature sensors, and the lower hole for the introduction of ink. The two side fins have holes which allow for a 1/4" screw to be placed through it, which allow for the roof structures to be attached to the box.
|

Above is a diagram showing how each piece of the box comes together and is assembled.
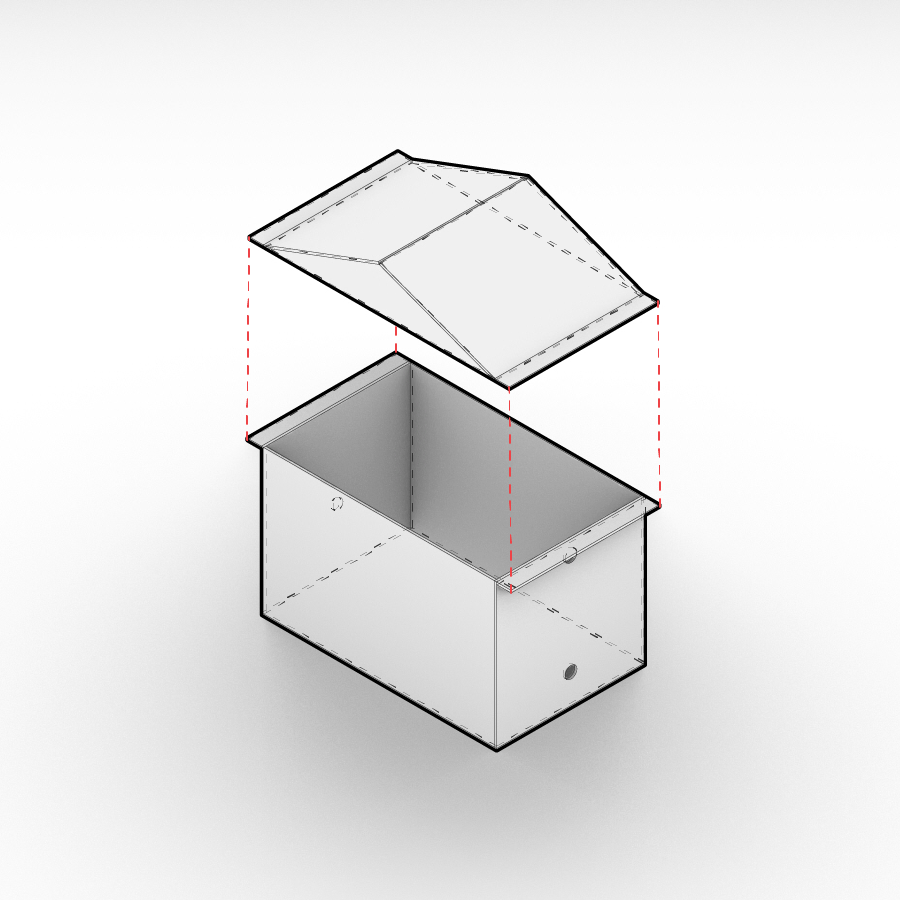
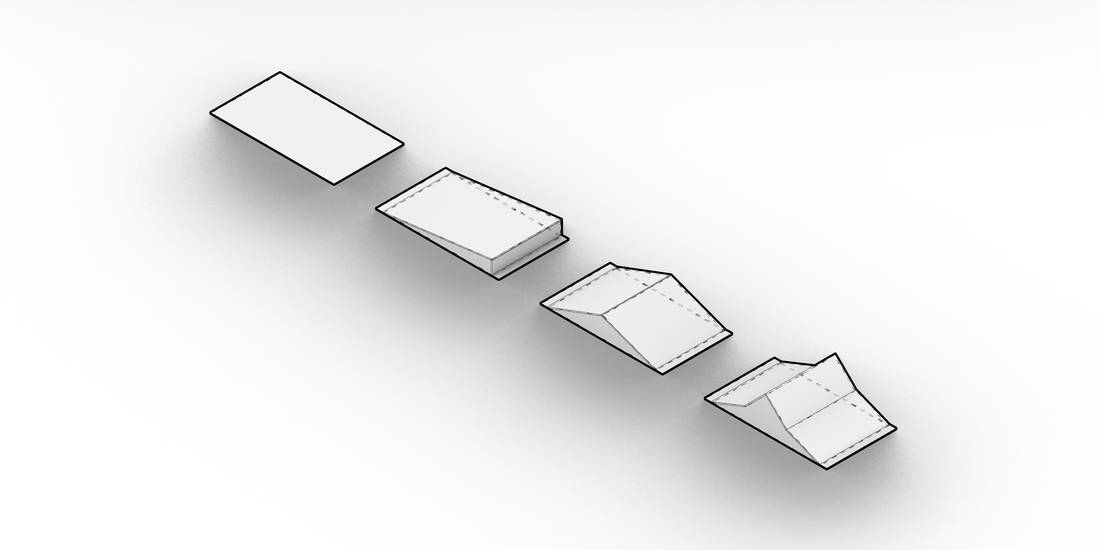
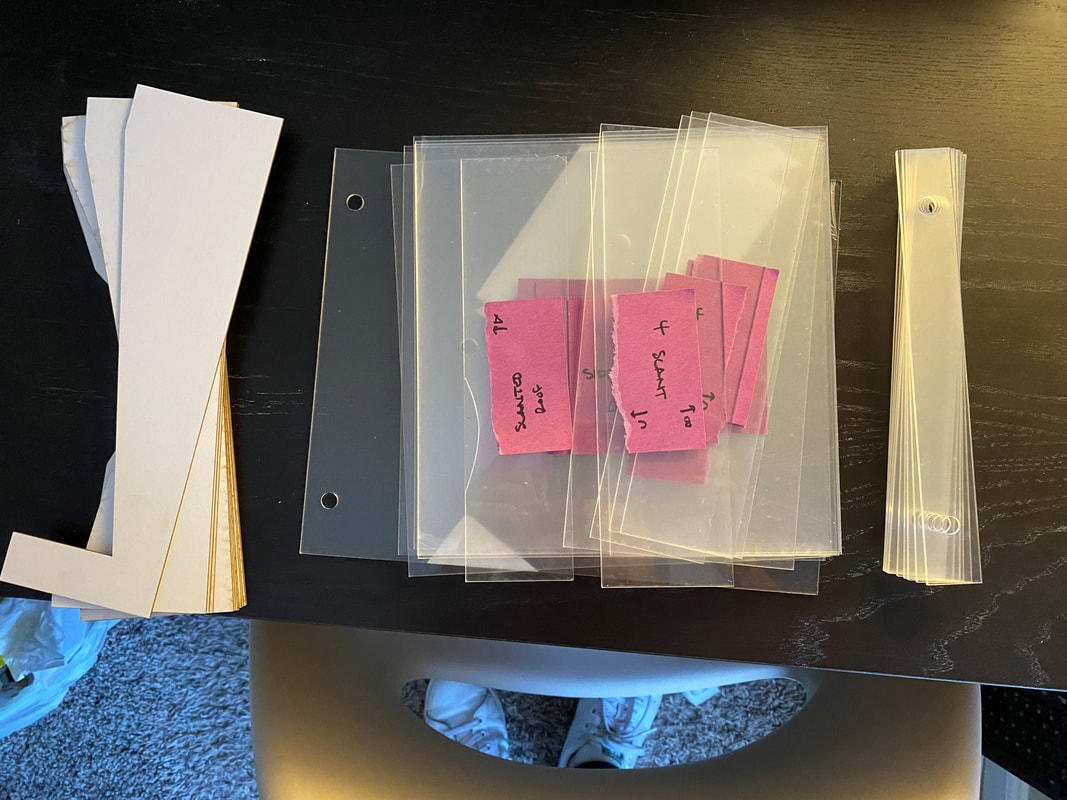
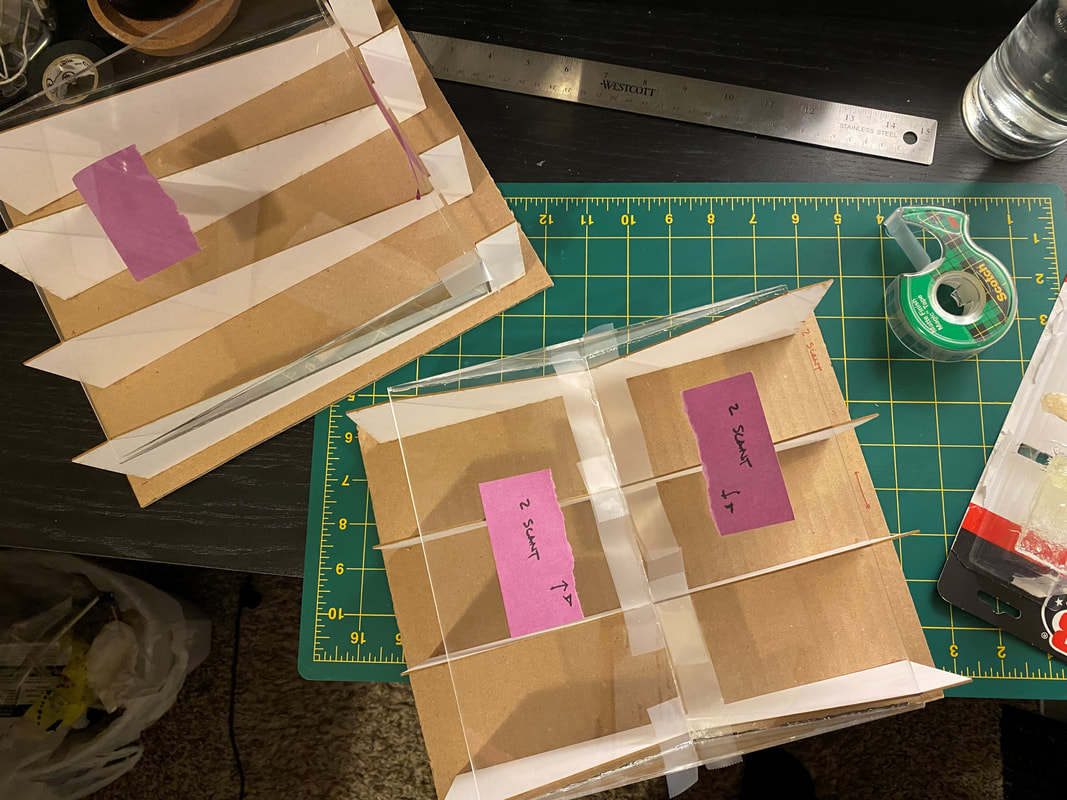
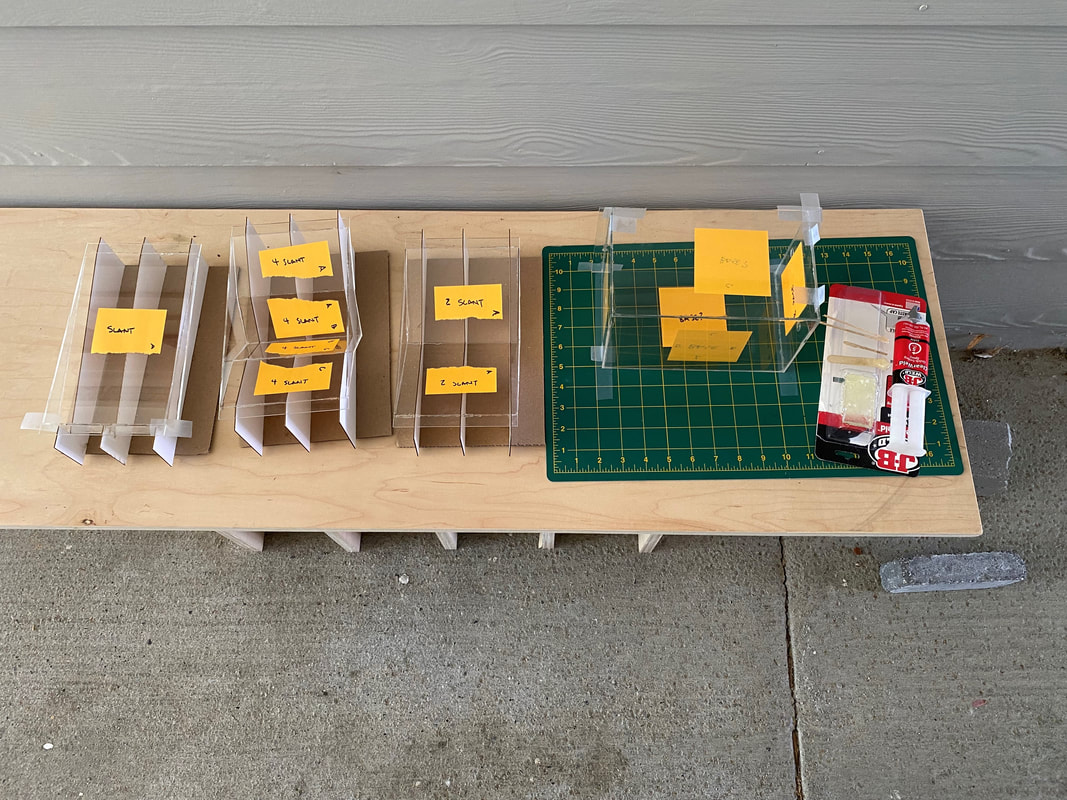
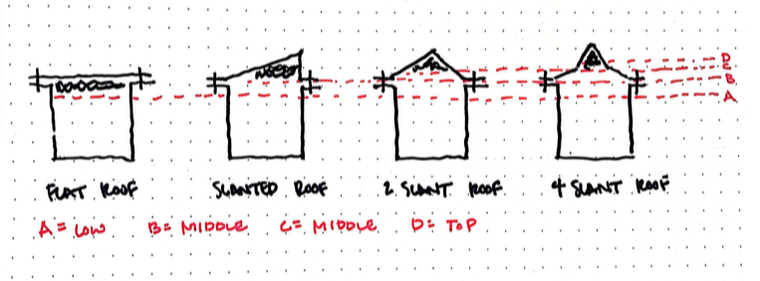
On the left is the construction logic as to how the roof structure is added to the acrylic enclosure. Below is the collection of the (4) roofs that were utilized for this experiment. From left to right they are the: flat roof, 1-slant roof, 2-slant roof, and 4-slant roof. |
Enclosure Construction
|
|
|
|
|
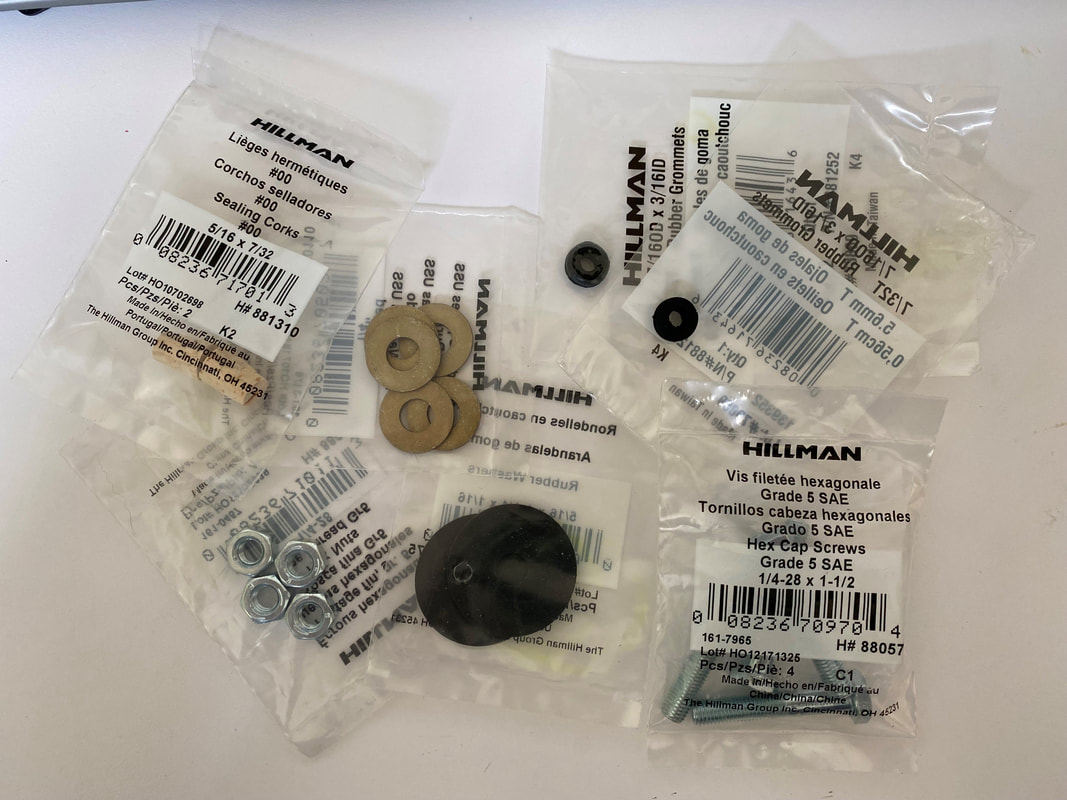
Parts & Pieces
An unanticipated assortment of the project is a collection of nuts, bolts, washers, and rubber grommets. These pieces are intended to make waterproof seals at the interface between the temperature sensor and the acrylic enclosure as well as connecting the roof structures to the acrylic enclosure. The accrued cost of these pieces are minimal.
Final Tweaks and Changes
Preliminary Enclosure Experiment
To ensure that the execution of this project is viable, a preliminary test was run. The goal of this was to:
1. Make sure that the enclosure was waterproof.
2. Setup the visuals of the project.
3. Ensure there was enough heat produced by the heated object.
4. Verify the sensors work.
Ultimately, this preliminary test run showed that a bit of tweaking needs to be done. Upon scaling up the prototype to the full scale, the 4 oz. Allen key didn't produce enough heat to effectively show thermal stratification. This is verified by the minimal recorded temperature change. This is most likely due to the fact that the Allen key is an effective energy conductor, and transmits its energy quickly, but an object with a high thermal mass will be necessary.
|
|
|
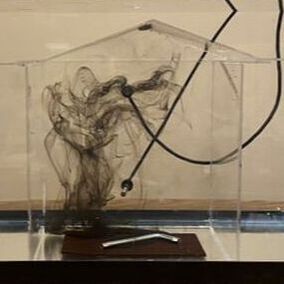
Below is a preliminary visualization as to how the final comparison will be executed. Each image will be laid side by side and the visual aspect of the thermal stratification will be "graphed". Then, the temperatures will be overlaid near the temperature sensors to show the change in temperature. Working in conjunction, these two visualizations intend to fulfill both the qualitative and quantitative aspects of the project.
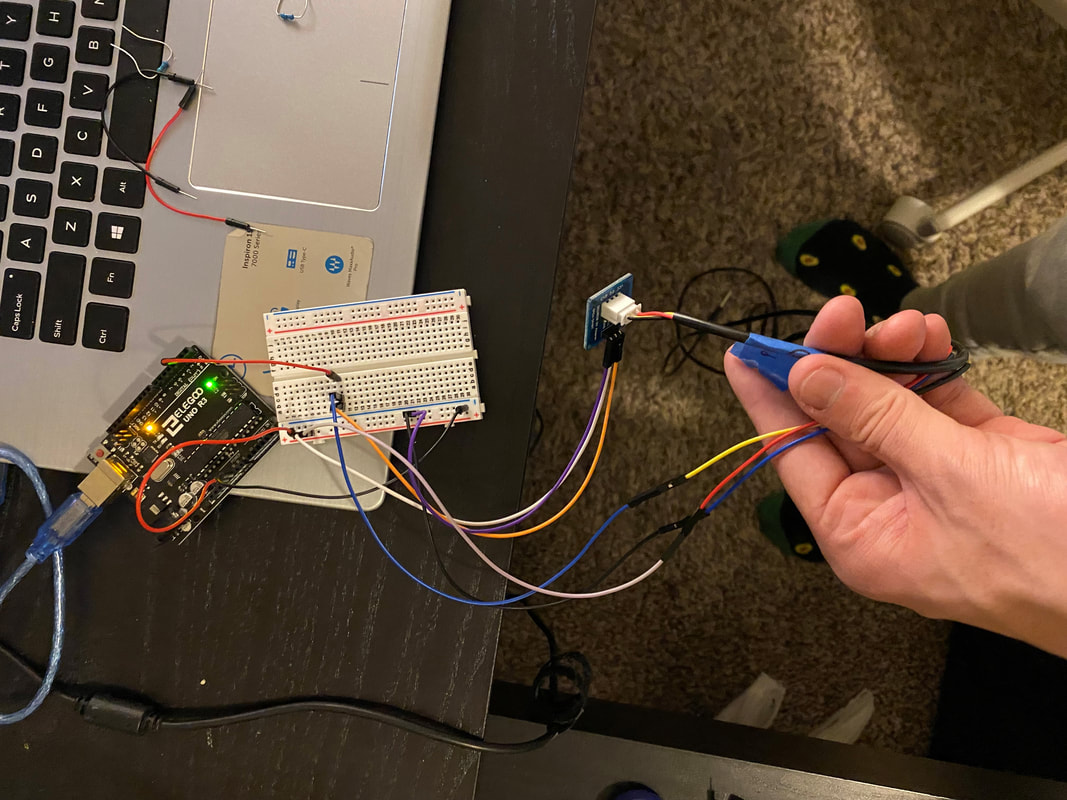
Controls (Electronics)
Two DS18B20 waterproof temperature sensors are used to measure the temperature within the enclosure at two different places. By utilizing the Arduino software, the temperatures at both places are recorded at the same time intervals and recorded in the Serial Monitor.
Below is an image of the electronic controls connected to the breadboard and Elegoo Board.
Below is an image of the electronic controls connected to the breadboard and Elegoo Board.